
Laundry Room in Limbo? How to Store Your Washing Machine Safely During a Move or Remodel
Laundry Room in Limbo? How to Store Your Washing Machine Safely During a Move or Remodel
Josh Summerhays
August 11th, 2026
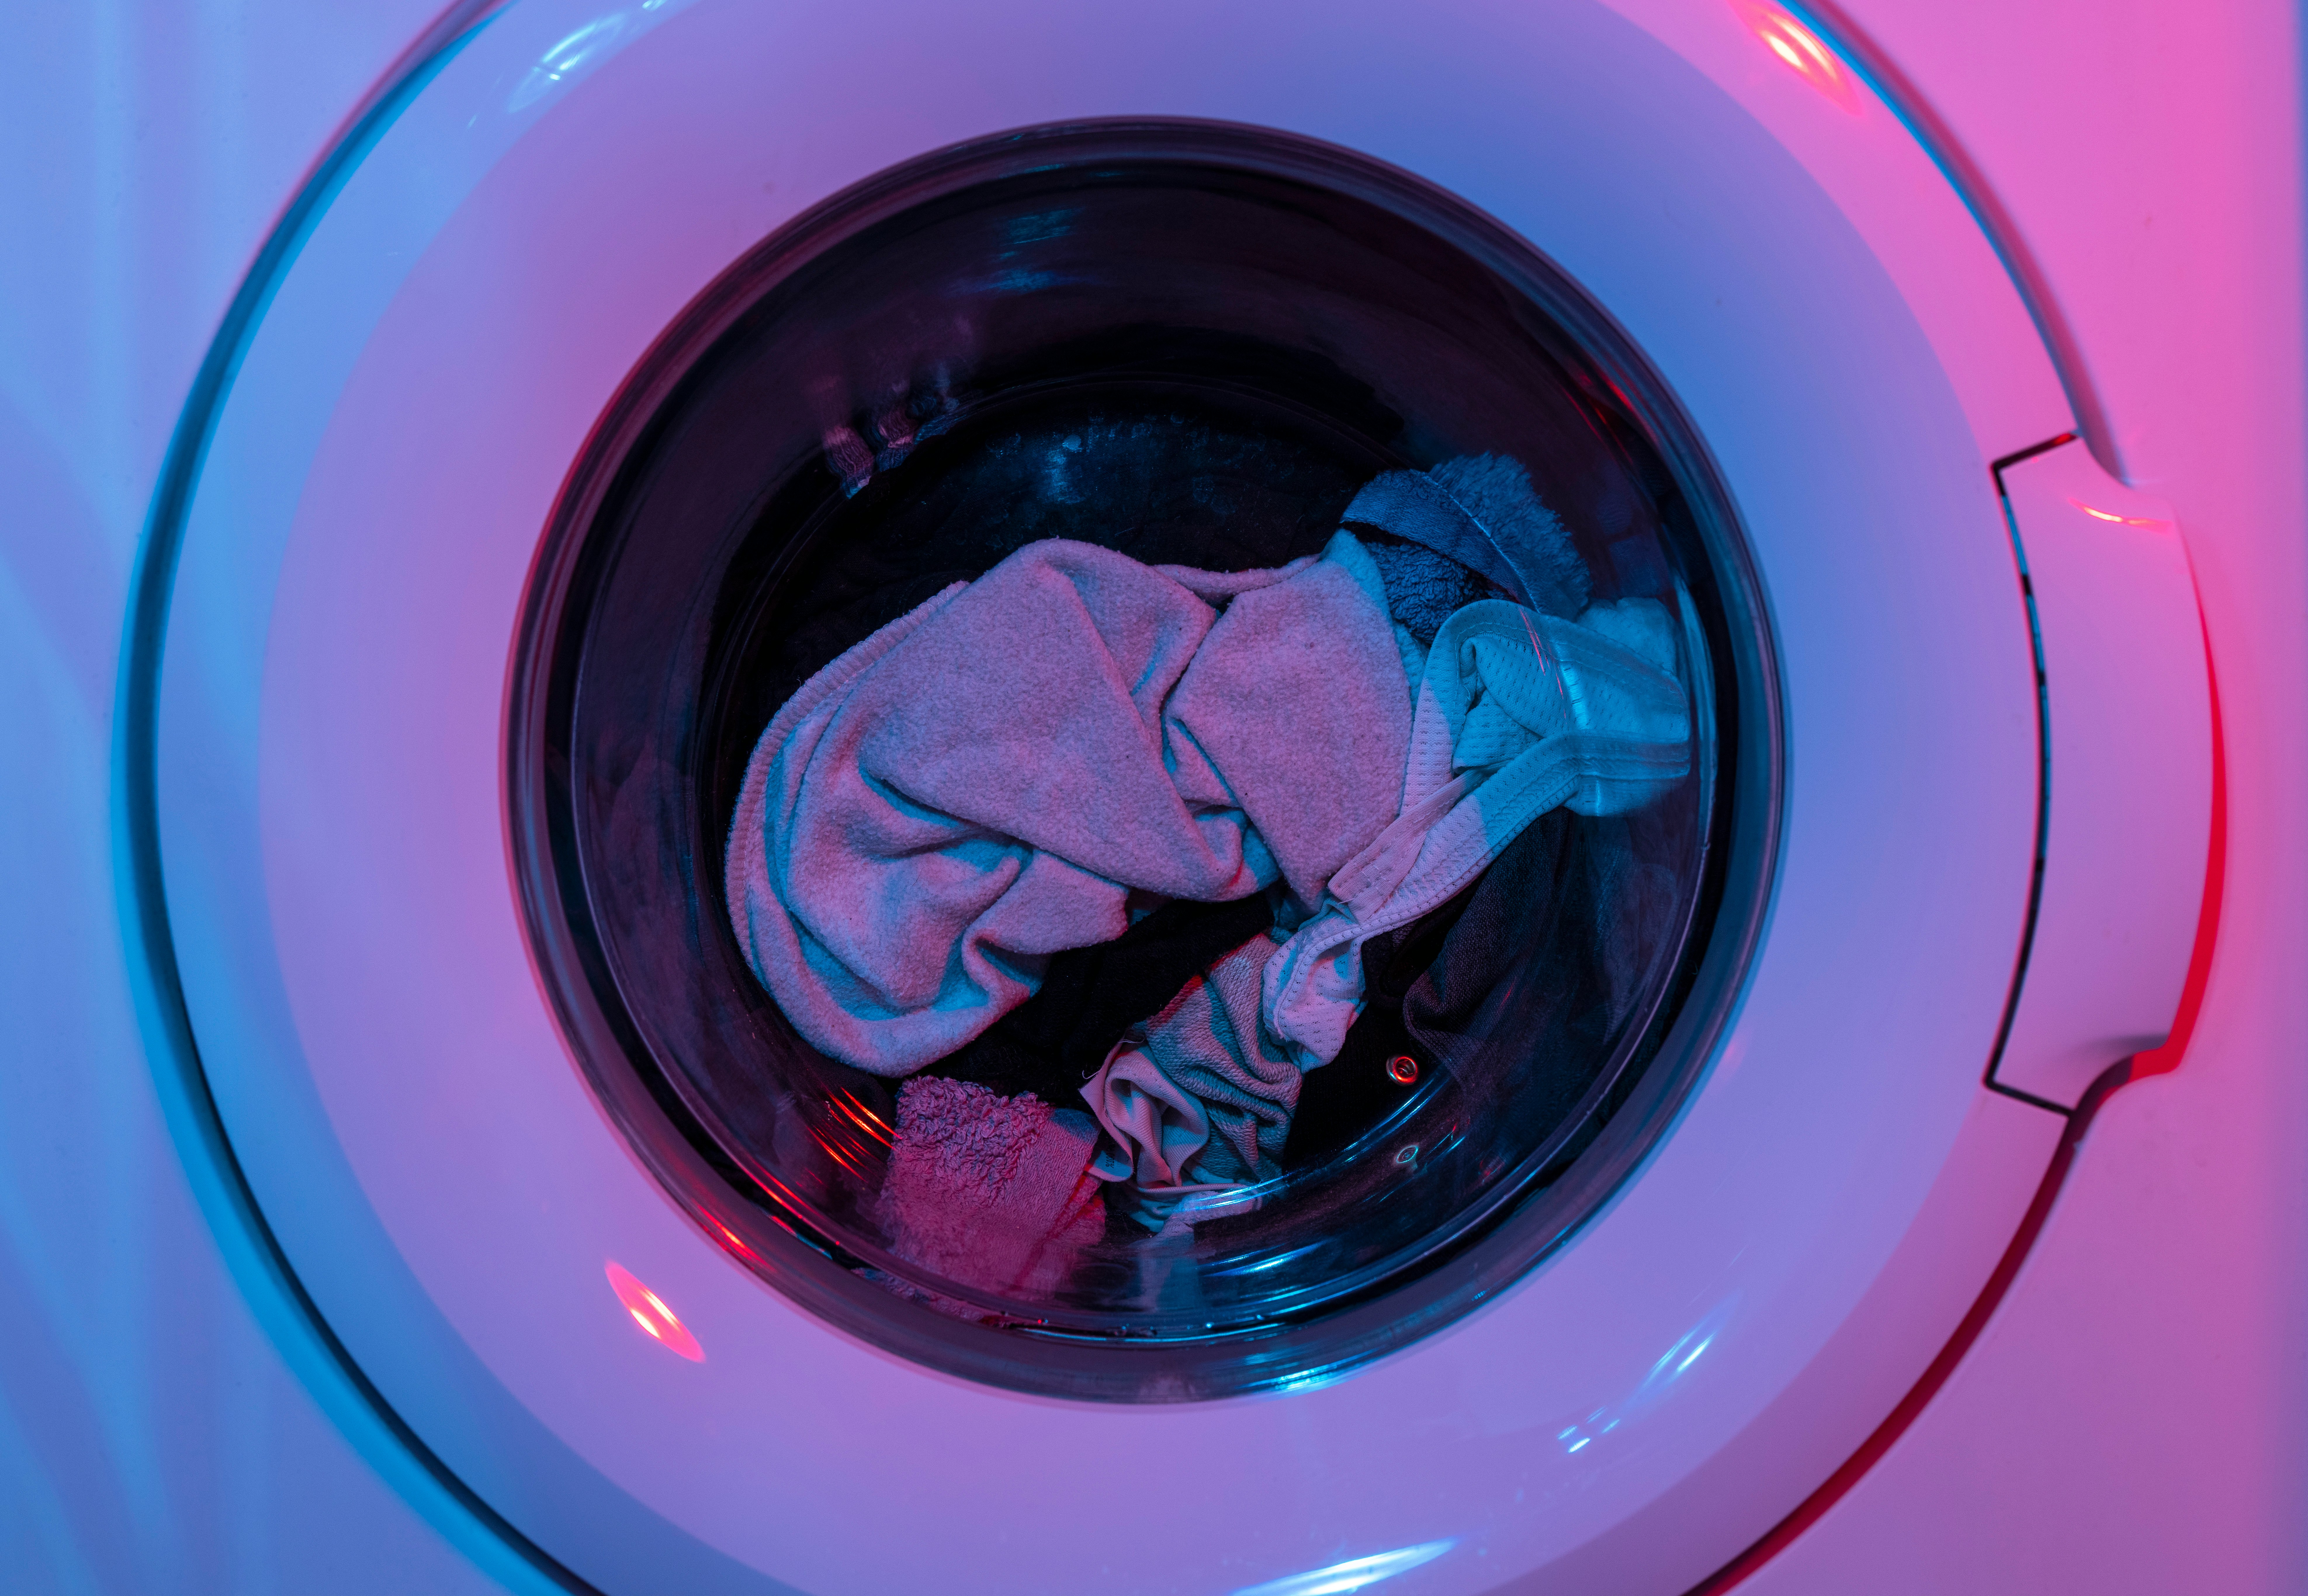
Moving or remodeling a home has a way of turning ordinary household items into logistical problems. A sofa can be wrapped, boxes can be stacked, and smaller belongings can usually be shifted from room to room. A washing machine, however, is a different story. It is heavy, connected to water lines, filled with components that can be damaged during transportation, and difficult to move repeatedly once a project is underway.
That is especially relevant during a laundry room remodel. New flooring, cabinets, plumbing work, painting, or electrical updates may require the washer to remain out of the room for several days or several weeks. Likewise, during a move, the timing between leaving one home and having the next one ready may not line up perfectly. In those situations, having access to storage options in Arcadia can provide a temporary place for a properly prepared washing machine while the rest of the project moves forward.
Still, storing a washer involves more than unplugging it and rolling it into a space. Water can remain inside hoses and internal components, detergent residue can linger around seals and dispensers, and the drum can move during transportation if it is not properly secured. Fortunately, most of these problems can be avoided with thoughtful preparation. By cleaning, draining, drying, securing, and moving the appliance correctly, you can put it away with far more confidence and make the eventual reinstallation considerably easier.
Key Points for Readers Short on Time
- Clean the washing machine before storage and give the drum, dispensers, seals, and other damp areas enough time to dry completely.
- Shut off the water supply, disconnect the hoses carefully, and drain as much remaining water as possible before moving the appliance.
- Follow the manufacturer's instructions for securing the drum, including reinstalling shipping bolts when the washer model requires them.
- Keep the washer upright during transportation and storage, and protect its exterior without trapping moisture under airtight wrapping.
- Organize hoses, hardware, manuals, and installation parts together so the washer can be reconnected without a frustrating search after the move or remodel.
Why a Washing Machine Needs More Preparation Than Most Household Items
At first glance, a washing machine seems like it should be relatively simple to store. It is a large rectangular appliance, so the obvious plan might be to unplug it, disconnect the hoses, cover it, and move it out of the way. The problem is that the parts you cannot see are often the ones that require the most attention. Even after the final wash cycle ends, small amounts of water may remain in the supply hoses, drain hose, pump, filter area, or other internal components. Meanwhile, detergent and fabric softener residue can remain in dispensers and around seals. If the appliance is immediately wrapped and left unused for an extended period, that combination of moisture and residue can create odors and leave the washer in need of considerable cleaning when it comes back out of storage.
In addition, a washing machine contains a heavy drum supported by an internal suspension system. That system is designed to handle the controlled movement of normal washing and spinning cycles. Transportation is different. A washer traveling across a parking lot, down a ramp, through a moving truck, or into a storage space can encounter bumps and sudden movements that the appliance was not designed to absorb without preparation. For that reason, it helps to think of washing machine storage as a sequence rather than a single moving-day task. Cleaning comes first, followed by draining and drying. After that, the drum can be secured according to the manufacturer's directions, accessories can be organized, and the appliance can finally be protected for transportation and storage. That order matters because each step prepares the washer for the next one.
Begin With the Owner's Manual, Not the Moving Dolly
Before reaching for tools or disconnecting hoses, locate the owner's manual for your specific washing machine. If the printed copy disappeared years ago, the manufacturer's website may have a digital version available when you search by model number. This is worth doing because washing machines are not all constructed the same way. A traditional top-loading washer may have different transportation requirements than a front-loading machine, and even similar-looking models from different manufacturers can use different systems for stabilizing the drum or draining residual water.
Pay particular attention to sections covering transportation, shipping bolts, drainage, pump filters, installation, and long periods of nonuse. Those instructions should take priority over generalized advice because they were written for the exact appliance sitting in your laundry room. Manufacturer guidance also illustrates why this step should not be skipped. For example, GE Appliances provides specific instructions for moving front-load washing machines, including draining water from the pump, disconnecting and draining hoses, and reinstalling shipping bolts, spacers, and clamps before transportation. Those details can vary by appliance, which is why checking the instructions for your own model is the safest starting point. Once you know what your washer requires, the rest of the preparation becomes much easier to organize.
Give the Washer One Final Cleaning Before Storage
After reviewing the manual, turn your attention to what is still inside the machine. Even a washer that looks clean can contain traces of detergent, fabric softener, lint, hair, and moisture in places that are easy to overlook. If your machine has a dedicated cleaning cycle, follow the manufacturer's instructions for running it. Otherwise, use the cleaning procedure recommended in the owner's manual. The goal is not to make the washer look brand new. Instead, you want to avoid leaving months of normal laundry residue sitting undisturbed while the appliance is out of use. Once the cleaning cycle is finished, wipe accessible surfaces carefully. On a front-loading machine, pay particular attention to the rubber door gasket because folds in the seal can hold moisture and small pieces of debris. Detergent and fabric softener dispensers also deserve attention. If the manufacturer allows them to be removed, cleaning and drying them separately can make it easier to eliminate residual moisture.
Next, leave the door or lid open for a while. This part is easy to rush, especially when packing is happening throughout the house, but allowing the interior to air out is important. Wrapping a freshly cleaned washer immediately can trap the moisture you were trying to remove in the first place. Ideally, washer preparation should happen before the most hectic part of moving day. Giving the appliance time to dry means one less rushed job when movers, contractors, boxes, tools, and furniture are all competing for your attention.
Shut Off the Water and Drain What Remains
Once the washer is clean and you are ready to disconnect it, shut off both the hot and cold water supply valves. Then unplug the machine and prepare the surrounding area before removing any hoses. Keep a bucket and several towels nearby. Even though the washer is no longer running, water can remain inside the supply hoses and drainage system. Disconnecting everything without preparing for that water can quickly turn a simple task into an unexpected cleanup. Carefully remove the supply hoses and allow them to drain. Then deal with the drain hose according to the manufacturer's instructions. Some washers also have an accessible pump filter or another method of releasing residual water. Again, the exact process depends on the machine, so the owner's manual should guide this step.
Once the hoses are empty, give them time to dry rather than immediately sealing them in a plastic bag. You can also use this opportunity to inspect the hoses and fittings. Look for obvious cracks, stiffness, corrosion, worn threads, or other signs of deterioration. A move or remodel is actually a useful time to notice these issues. During everyday use, most homeowners rarely pull their washing machine far enough away from the wall to examine its connections. Since everything is already disconnected, you have a natural opportunity to determine whether a hose or fitting should be replaced before the washer is installed again.
Keep Hoses, Hardware, and Accessories With the Washer
With the machine disconnected, it is tempting to toss the hoses into the nearest moving box and continue packing. Unfortunately, that box may eventually end up underneath six other boxes on the opposite side of the storage unit. Instead, create a small group of items specifically for the washer. Depending on your machine, that might include water supply hoses, drain hose components, shipping bolts, spacers, clamps, caps, installation hardware, and the owner's manual. If you place smaller hardware in a bag or container, label it clearly with the appliance name and model. Hoses should be completely drained and allowed to dry before they are stored. When appropriate, loosely coil them rather than forcing them into tight bends.
This small organizational step becomes especially valuable during a whole-home move. Once dozens of boxes begin moving between rooms, vehicles, and storage spaces, remembering exactly where four small shipping bolts ended up is much harder than it sounds. More broadly, organizing belongings according to when they will be needed can make the entire transition easier. Instead of moving everything into the new home at once, some households prefer to bring essential items in first and retrieve less urgent belongings gradually. Our article on how indoor storage can create a smoother, cleaner move in Arcadia explores this approach in greater detail. Once the washer's accessories are accounted for, however, there is still one particularly important component to prepare: the drum.
Protect the Drum Before Moving the Machine
The drum is designed to move during normal operation. In fact, its ability to move within the machine is part of what allows a washer to handle the forces created by a spin cycle. However, that movement needs to be controlled when the appliance itself is being transported. Many front-loading washing machines originally arrive with shipping bolts or similar hardware installed through the back of the appliance. These components stabilize the drum during transportation and are removed when the washer is installed for normal use.
If your machine requires shipping bolts for transportation, reinstall them exactly as directed by the manufacturer. If you saved the original bolts and spacers, this is the moment when that bit of foresight pays off. If they have been lost, check with the manufacturer or an appropriate appliance parts supplier to identify the correct hardware for the exact model. Avoid improvising with random bolts, wood blocks, towels, expanding foam, or other homemade methods. The internal structure of a washing machine is not a good place to experiment. An incorrect bolt length or poorly positioned object could cause the very damage you are trying to prevent. Just as importantly, make a note that the transportation hardware has been installed. Shipping bolts generally need to be removed before the washing machine is operated again, according to the manufacturer's instructions. A visible note attached to the washer or included with the installation accessories can prevent someone from overlooking that step months later.
Protect the Outside Without Sealing Moisture Inside
Once the internal preparation is complete, you can focus on protecting the washer's exterior. A moving blanket or similar protective covering can help guard against scratches and minor bumps. Secure the covering so that it stays in place, but avoid putting excessive pressure on the control panel, knobs, door, or other vulnerable components.
At the same time, resist the urge to wrap the entire appliance tightly in layers of airtight plastic, particularly if there is any possibility that moisture remains inside. Plastic can be useful as temporary protection during certain parts of a move, but long-term storage is different. A breathable covering is generally better suited to keeping ordinary dust away without unnecessarily trapping moisture around the appliance. Also secure the electrical cord so it does not drag behind the machine or become trapped underneath it. Follow the manufacturer's recommendations if your washer has a specific cord storage arrangement. At this stage, the washing machine should be clean, drained, dry, secured, and covered. Now the challenge shifts from preparation to transportation.
Keep the Washing Machine Upright While Moving It
Washing machines are heavy enough that moving one can become surprisingly difficult. Their shape makes them awkward to grip, and their weight is not always distributed in the way someone expects when first trying to tilt the appliance. An appliance dolly can make transportation much more controlled. Proper moving equipment is especially useful when navigating thresholds, ramps, narrow hallways, parking areas, or elevators. Whenever possible, plan the route before the washer starts moving rather than discovering a tight corner while several hundred pounds of appliance are already on the dolly. Follow the manufacturer's transportation instructions, including any guidance about keeping the washer upright. Avoid treating it like an ordinary box that can simply be placed wherever there happens to be room in a moving vehicle.
Inside the vehicle, the washer should also be positioned so it cannot slide or tip during transportation. Protective blankets can help prevent contact with neighboring furniture or appliances, but they should not replace proper stabilization. This is also where thinking ahead about storage access can save significant effort. Moving a washing machine through a storage property is very different from carrying a small box. The route between the vehicle and the storage space matters. If you are comparing access arrangements, our guide to first-floor versus elevator access for storage in Arcadia offers additional perspective on how accessibility can affect move-in day.
Choose the Washer's Position in Storage Carefully
Reaching the storage space is not the end of the process. Where the washing machine goes inside that space can determine how easy it is to retrieve later. First, place it upright on a stable, level surface. Do not balance it on boxes, furniture, or makeshift platforms. Likewise, avoid stacking heavy belongings on top of the machine. A washer may look like a convenient shelf, but its top panel is not intended to support stacks of tools, books, renovation materials, or heavy boxes for months at a time.
Next, think about how soon you expect to need it again. If a laundry room remodel is scheduled to finish in three weeks, placing the washer behind an entire household's worth of furniture creates unnecessary work. On the other hand, if the appliance will remain stored for several months, other belongings may reasonably need priority access. A simple aisle can make an enormous difference. It does not have to be wide, but leaving a usable path to important belongings can prevent you from unloading half the space every time plans change. That flexibility is particularly useful during a remodel because renovation schedules have a habit of shifting. Flooring may finish early while cabinetry arrives late. Plumbing work may uncover another issue. Paint may need additional time before appliances return. Keeping the storage space organized allows you to adapt without creating another round of heavy lifting.
Remodeling Your Laundry Room? Timing Matters
If the washing machine is being stored because of a remodel rather than a move, knowing when to bring it home is just as important as knowing when to take it out. Laundry room renovations can involve demolition, flooring, drywall repair, painting, plumbing changes, electrical work, cabinetry, countertops, and finishing details. A washing machine returned too early can end up directly in the middle of that activity. For example, contractors may need clear access to the wall behind the washer to adjust plumbing connections. Flooring installers may need an empty room to work efficiently. Painters and cabinet installers also benefit from having enough space to move tools and materials without maneuvering around a large appliance.
Consequently, leaving the washer stored until the heavier work is finished can simplify the project. It also reduces the number of times the appliance needs to be moved. Every additional trip across a room or construction area creates another opportunity for a scratched panel, damaged hose, bumped control, or strained connection. Before scheduling the washer's return, confirm that the floor is finished, the surrounding cabinetry is ready, the plumbing connections are accessible, and the electrical setup is complete. If plumbing or electrical work has changed substantially, an appropriately qualified professional can help determine whether the new setup is ready for the appliance.
Organize the Rest of the Storage Space Around the Project
The washer probably will not be the only item displaced by a move or remodel. Laundry baskets, shelving, cleaning supplies, cabinets, furniture, tools, and boxes may all need temporary homes as well. Instead of filling the storage space in whatever order items arrive, think about how the project will unfold. Items that will return to the home first should remain relatively accessible. Belongings that are unlikely to be needed for months can go farther back.
You might also group items by room. Keeping laundry room belongings near the washer, for example, can make reinstallation easier because related items come home together. The same strategy can be used for kitchen, bedroom, or home office belongings during a larger renovation. A basic inventory can help too. It does not need to be elaborate. A note on your phone identifying the general contents of the storage space may be enough to prevent unnecessary searching later. Ultimately, good storage organization is not about making everything look perfect. It is about reducing the number of times you have to move the same heavy belongings.
Storage Can Also Help Keep the Rest of the Home Functional
One of the less obvious benefits of temporarily relocating a washing machine and other bulky belongings is that it creates working room at home. During a remodel, displaced items often migrate into neighboring rooms. Laundry room shelves end up in the hallway, appliances move into the garage, boxes appear in the dining room, and renovation supplies occupy whatever floor space remains. Before long, a project affecting one room starts disrupting several. Temporarily storing selected belongings can prevent that spillover. Contractors have more room to work, household walkways remain clearer, and finished rooms are less likely to become temporary warehouses.
The same principle applies during a move. Instead of trying to unpack every box immediately, having some belongings temporarily stored can make it easier to decide where furniture and larger household items actually belong before filling every available corner. In other words, storage can function as a buffer between stages of a project. The washing machine may be one of the largest items in that buffer, but the broader goal is to give the home enough breathing room for the transition to happen in a more orderly way.
Make Room for Arcadia While the House Is in Transition
For Arcadia residents, keeping a move or remodel organized can also mean spending less personal time navigating piles of boxes and displaced furniture. That matters because there are plenty of ways to enjoy the area when you need a break from packing, construction decisions, and appliance logistics. Santa Anita Park is one of the community's best-known landmarks and sits along W Huntington Drive. Beyond its racing calendar, the venue also hosts special events. The City of Arcadia, for example, has used Santa Anita Park as a location for major community celebrations and events. Arcadia also has a substantial network of public recreation spaces. According to the City of Arcadia Recreation and Community Services Department, the city has 14 city parks, four facilities, and several joint-use facilities with the Arcadia Unified School District. Residents can explore parks and facilities based on available amenities, making local recreation an easy option when the house is temporarily dominated by a moving or remodeling project. That local context is particularly relevant for Arcadia Self Storage because of its location near Santa Anita Park. For nearby households, temporarily getting a bulky appliance and other nonessential belongings out of an active project area can create a more manageable home environment while still keeping those items within the Arcadia area.
What About a Washer That Will Be Stored for Several Months?
The longer a washing machine remains unused, the more important the initial preparation becomes. For a short renovation, you may be thinking primarily about protecting the washer from construction dust and keeping it out of the contractors' way. For storage lasting several months, however, thoroughly removing moisture and residue becomes even more important because the appliance will remain closed and unused for a much longer period. Before putting the machine away, double-check that accessible water has been drained according to the manufacturer's instructions and that the drum, gasket, dispensers, and hoses have had sufficient time to dry. Make sure the storage covering is secure but breathable, and verify that nothing heavy has been placed on top.
It is also worth keeping the washer's model information and owner's manual accessible rather than packing them deep inside another box. Months later, you may not remember exactly how the shipping bolts were installed or what steps the manufacturer recommends before restarting the appliance. A few notes taken during disconnection can solve that problem. You might record which hoses were connected where, which parts were removed, and where the transportation hardware was installed. Taking a few photos before and during disconnection can also provide a useful visual reference when it is time to reverse the process.
Avoid These Common Washing Machine Storage Mistakes
Most washing machine storage problems do not come from complicated mistakes. They usually happen because a seemingly minor preparation step was skipped during a busy move. One common issue is disconnecting the washer and moving it immediately, without giving residual water enough time to drain or dry. Another is losing the shipping hardware and then transporting a washer without properly stabilizing the drum. Stacking heavy boxes on top of the machine can also create unnecessary pressure on its exterior.
Similarly, storing hoses while they are still wet or sealing the entire appliance tightly before it has dried can create problems that only become noticeable later. The better approach is to slow the process down slightly. Clean first. Drain second. Dry everything. Secure the drum. Organize the accessories. Protect the exterior. Then move the appliance. Those extra steps may add some preparation time at the beginning, but they can make the eventual return of the washer considerably simpler.
Bringing Your Washing Machine Back Into Service
When the move is complete, or the remodel finally reaches the finish line, it can be tempting to reconnect the washer immediately and start tackling the mountain of laundry that accumulated during the project. Before doing that, inspect the appliance carefully. Start with the exterior and connections. Look for visible damage to the power cord, hoses, fittings, control panel, door, and cabinet. If transportation hardware was installed, remove it according to the manufacturer's directions before operating the washer.
Next, position the machine correctly and make sure it is level. A washer that is not level may vibrate excessively, particularly during the spin cycle. Reconnect the water supply and drainage components according to the installation instructions, then carefully check the connections when water is restored. If the machine has been unused for a long time, consider following the manufacturer's recommended cleaning or startup procedure before washing a normal load of clothing. This gives you an opportunity to make sure the machine fills, agitates or tumbles, drains, and spins as expected. Most importantly, do not rush this stage simply because the washer has finally returned home. The careful preparation that protected it during storage should be matched by an equally careful reinstallation.
A Better Move Starts Before the Washing Machine Leaves the Laundry Room
Safely storing a washing machine is mostly about preventing small oversights from turning into bigger inconveniences. Residual water needs somewhere to go. The interior needs time to dry. The drum needs appropriate protection during transportation. Hoses and hardware need to stay organized. Finally, the appliance needs a stable, accessible place to sit until the home is ready for it again. When those steps are handled in the right order, temporary storage becomes much less complicated. Instead of wondering what condition the washer will be in after weeks or months away, you can focus on completing the move or remodel and preparing the space where the appliance will eventually return.
For households working through that transition near Santa Anita Park and elsewhere in the city, Arcadia Self Storage's options near Arcadia can provide additional space for a properly prepared washing machine and other household belongings while work-at-home continues. A little planning before the appliance leaves the laundry room can ultimately make both storage and reinstallation feel like natural parts of the project rather than additional problems to solve.
Categories